
Book Appointment Now
How to Add, Arrange, and Delete Form Fields in Koala Forms
A form is only as effective as the fields it collects. Ask for too little and you miss information you needed to follow up. Ask for too much and visitors abandon the form before they finish. Getting that balance right means adding exactly the right fields, in the right order — and removing anything that doesn’t earn its place.
Koala Forms makes this easy because every field is a Gutenberg block. If you can edit a WordPress page, you can manage form fields: the + inserter adds them, drag-and-drop rearranges them, and the block toolbar removes them. This guide walks through everything you need to know about how to add form fields in WordPress, reorder them, duplicate them, and delete them cleanly.
The core idea: every field is a block
When you open a form in the editor, each field — a text input, a dropdown, an email box — is its own block, stacked in the order visitors will see them. That means every block editor skill you already have transfers directly to form building. There’s no separate drag-and-drop canvas to learn and no proprietary interface. It’s just WordPress.
How to add a form field
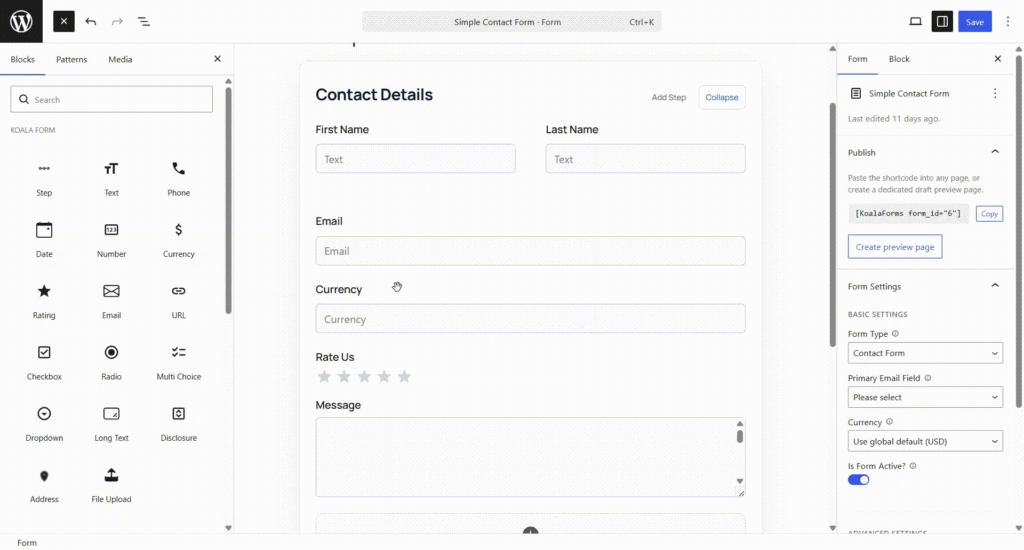
Click the + (block inserter) — either the fixed one in the top-left of the editor, or the inline + that appears between blocks when you hover. Search for the field you want by name and click it to insert.
Koala Forms includes field blocks for every common input:
- Text, Email, Number, URL, and Phone for single-line data
- Textarea (Paragraph) for longer messages
- Dropdown (Select), Multi-Select, Radio Buttons, and Checkboxes for choices
- Date for calendar input
- Address for structured location data
- File Upload for documents, images, and PDFs
- Disclosure / Consent for terms and GDPR agreement
Insert a field at a specific position
The new field appears wherever your cursor is. To place a field between two existing ones, click in the gap first (or use the inline + that appears there), then insert. This saves you from adding a field at the bottom and dragging it all the way up.
How to arrange and reorder fields
Order matters: ask for a name before a message, contact details before preferences, easy questions before demanding ones. Koala Forms gives you two ways to reorder:
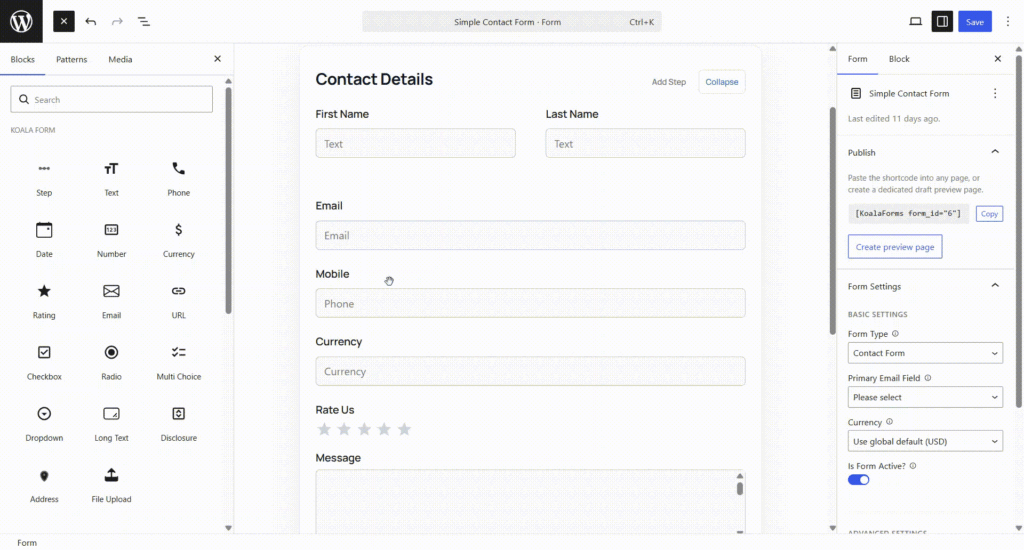
- Drag and drop — grab the block’s drag handle (the six-dot icon in its toolbar) and move it up or down the form.
- Move arrows — use the up/down arrows in the block toolbar to nudge a field one position at a time, which is handy for precise placement.
Put fields side by side with columns
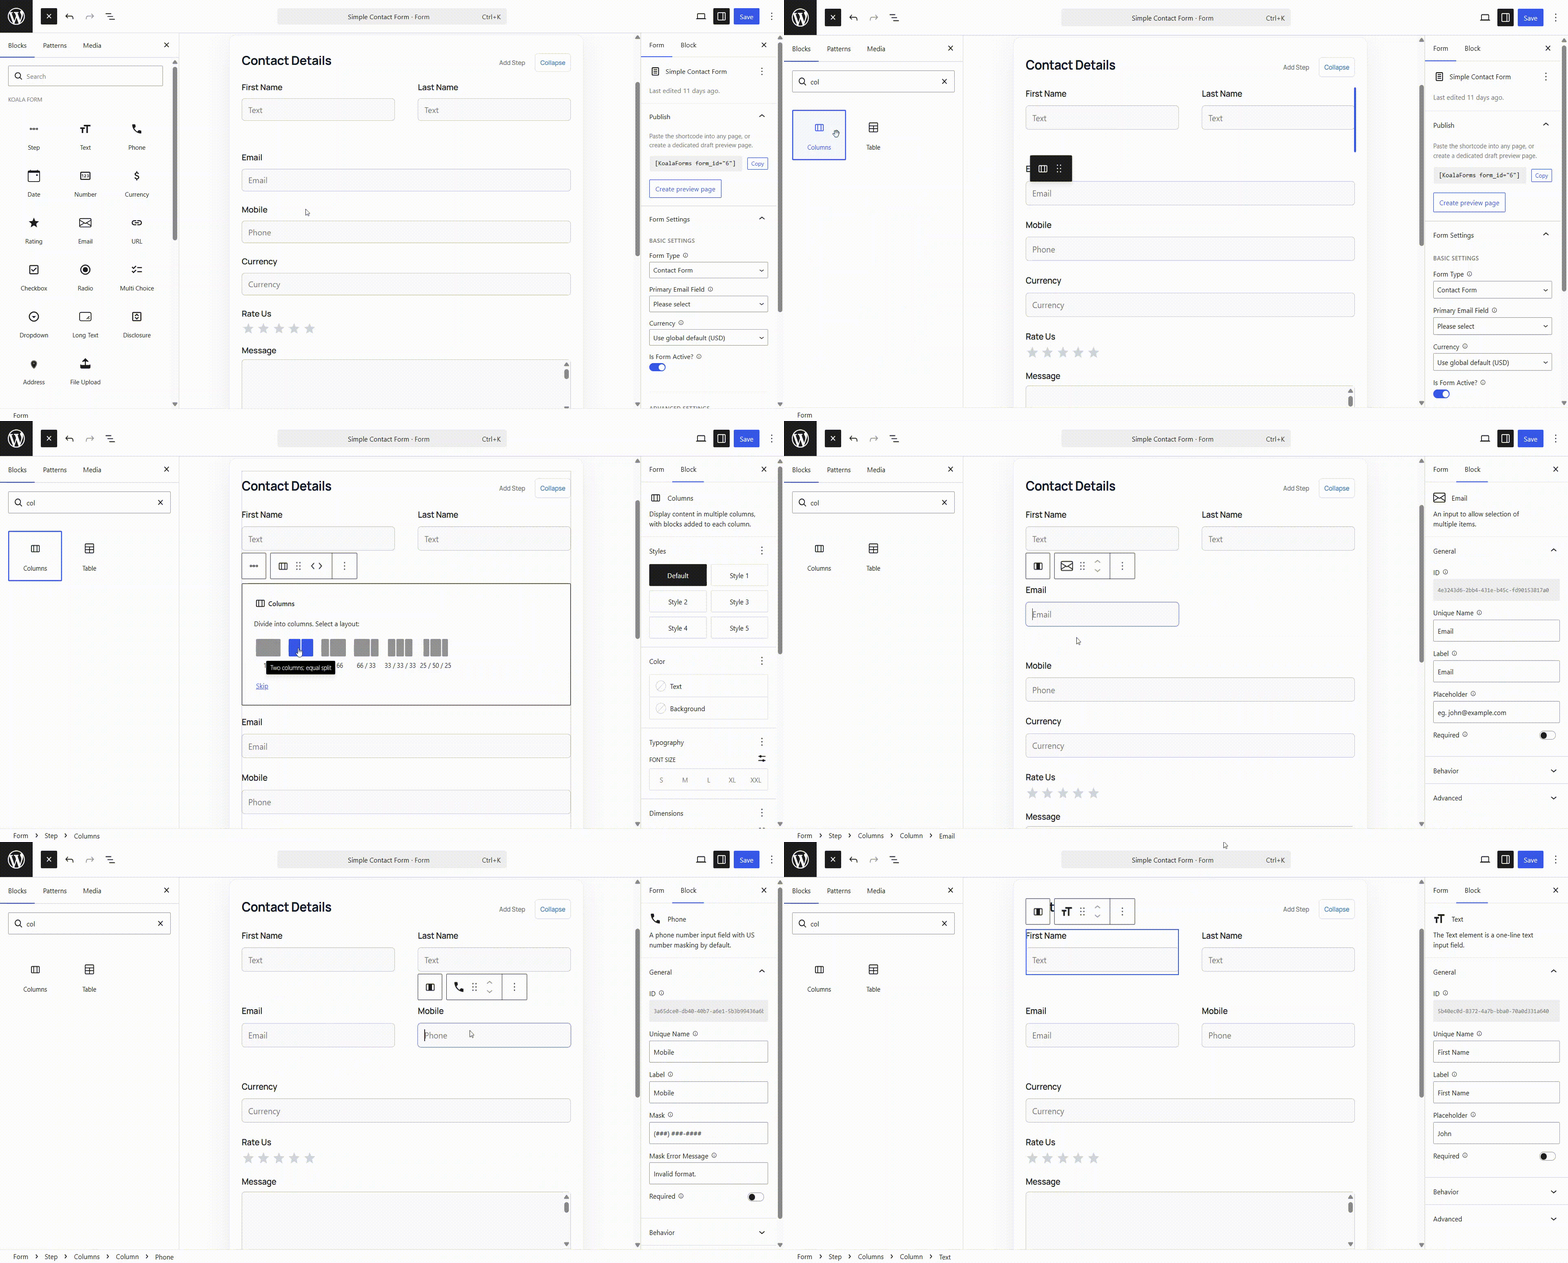
Want first name and last name on the same row instead of stacked? Wrap them in a Columns block and drop a field into each column. Several built-in templates use this exact pattern for name fields, and it makes forms feel shorter and more polished.
How to duplicate a field
If you need a field similar to one you already built — same validation, same options — don’t recreate it from scratch. Select the field, open the three-dot (options) menu in the block toolbar, and choose Duplicate. Koala Forms copies the field with all its settings intact, so you only need to change the label.
This is a real time-saver when you’re building something like a survey with many similarly configured rating questions.
How to delete a field
To remove a field you no longer need, select it and use any of these:
- Click the three-dot (options) menu in the block toolbar and choose Delete
- Press Shift + Alt + Z, the standard block-removal shortcut
- Select the whole block and press Backspace
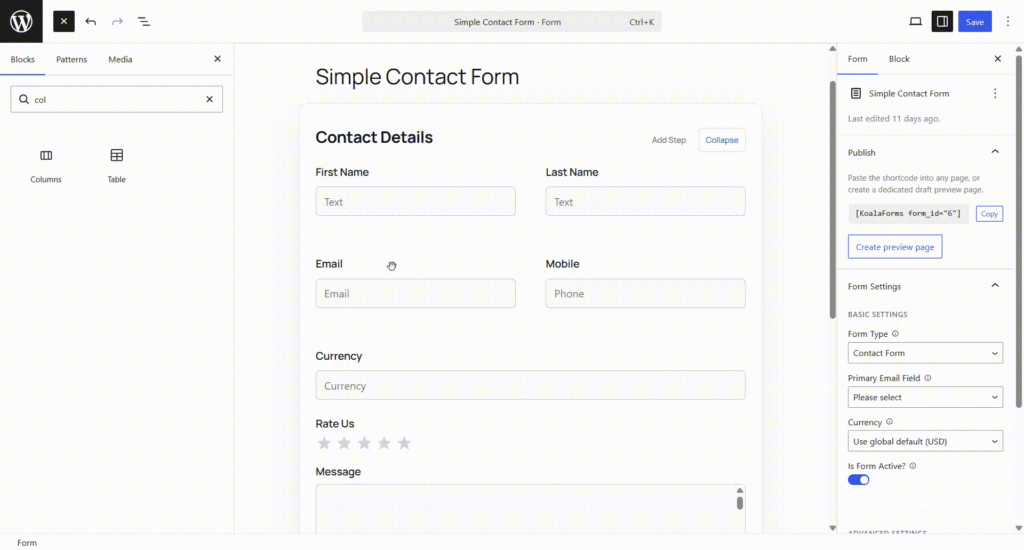
Deleting a field only removes it from the form going forward — submissions you’ve already collected keep the data they captured.
Save your changes
Field edits aren’t live until you save. Click Update (or Publish, for a brand-new form) in the top-right corner to lock in your layout. It’s worth previewing the form after significant changes to confirm the order and spacing look right to visitors.
A quick note on labels vs. field names
Every field has two identifiers: a visible label that visitors read, and an internal field name used to store and reference the submission. When you add or duplicate fields, give each a clear, unique label. Descriptive labels keep your submissions readable later — “Work Email” is far easier to scan in an entry than a generic “Email 2.”
Best practices for form fields
- Only ask for what you’ll use. Every extra field lowers completion rates. If you won’t act on the data, cut the field.
- Order by effort. Put quick, low-friction fields first and demanding ones (long text, uploads) later.
- Group related fields. Use columns and logical ordering so the form reads like a conversation.
- Label clearly. Avoid jargon; write labels the way your visitors would describe the information.
Frequently asked questions
How do I add a field to a WordPress form in Koala Forms?
Open your form in the block editor, click the + block inserter, search for the field type you want, and click it. The field is added as a block you can then configure.
Can I put two fields on the same line?
Yes. Add a Columns block, then place a field inside each column to display them side by side — perfect for first and last name.
Will deleting a field remove past submissions?
No. Deleting a field only changes the form going forward. Data already captured in existing submissions is preserved.
How do I reorder fields?
Drag a field using its six-dot handle, or use the up/down arrows in the block toolbar to move it one position at a time.
Key takeaways
- In Koala Forms, every field is a Gutenberg block, so you add form fields in WordPress with the standard block inserter.
- Reorder with drag-and-drop or the toolbar arrows; use a Columns block for side-by-side fields.
- Duplicate to reuse a configured field, and delete via the block options menu.
- Always click Update to save, and keep labels clear and unique.
Now that your fields are in place and in order, the next step is configuring each one so it collects clean, valid data — that’s where field types and settings come in.